Using the Ada Cluster
For some homework assignments, we will use Middlebury’s high performance computing cluster, ada. Accounts on ada have been set up automatically for you.
This guide takes you through the steps needed to run a script on ada using vscode. Note that this is a “getting started guide” - there’s much more that you could learn, but this should be enough to complete the homework.
I only have access to a mac, which is where these instructions were tested. If you have problems going through this guide on windows, please let me know (hopefully while we are going through it in class).
These instructions only work on campus! If you need to access the cluster off campus, you’ll need to get access to the Middlebury VPN. Once you have VPN access, you can use the cluster as usual.
Step 1: Download and install vscode
Many students already use vscode as their main editor, but if you don’t, you’ll need to download it here. Go through the installation process before continuing to the next step.
Step 2: Setting up your remote connection in vscode
Step 2.1: Add ada to your remote explorer
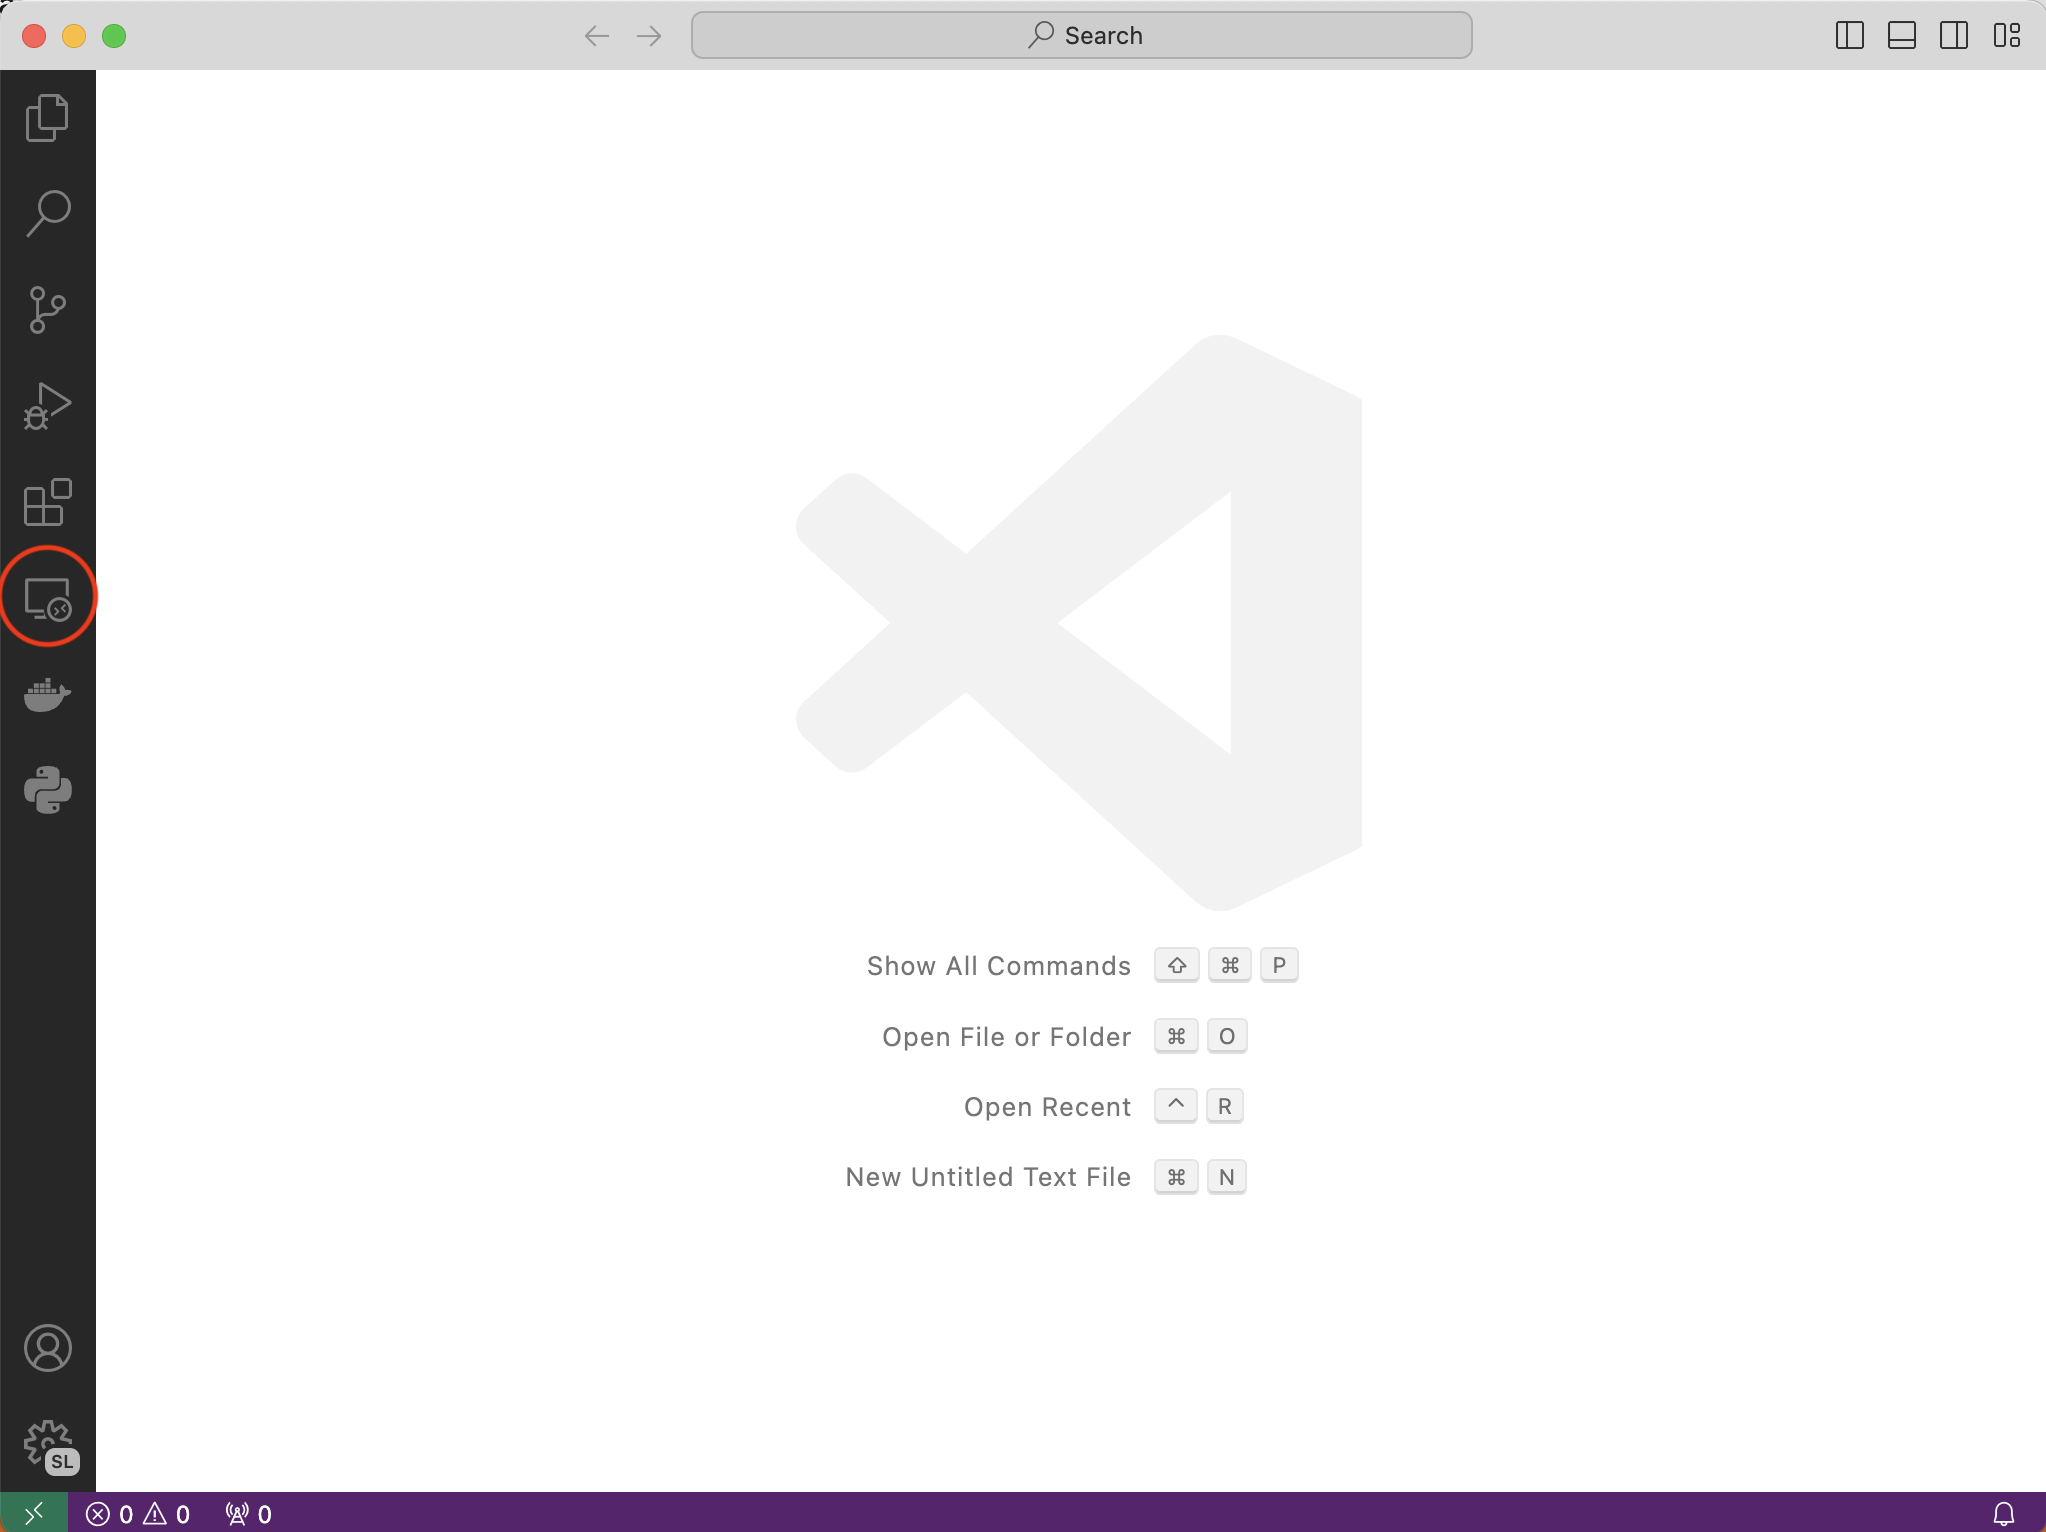
Once you have vscode installed, open it up and click on the “remote explorer” button (circled).
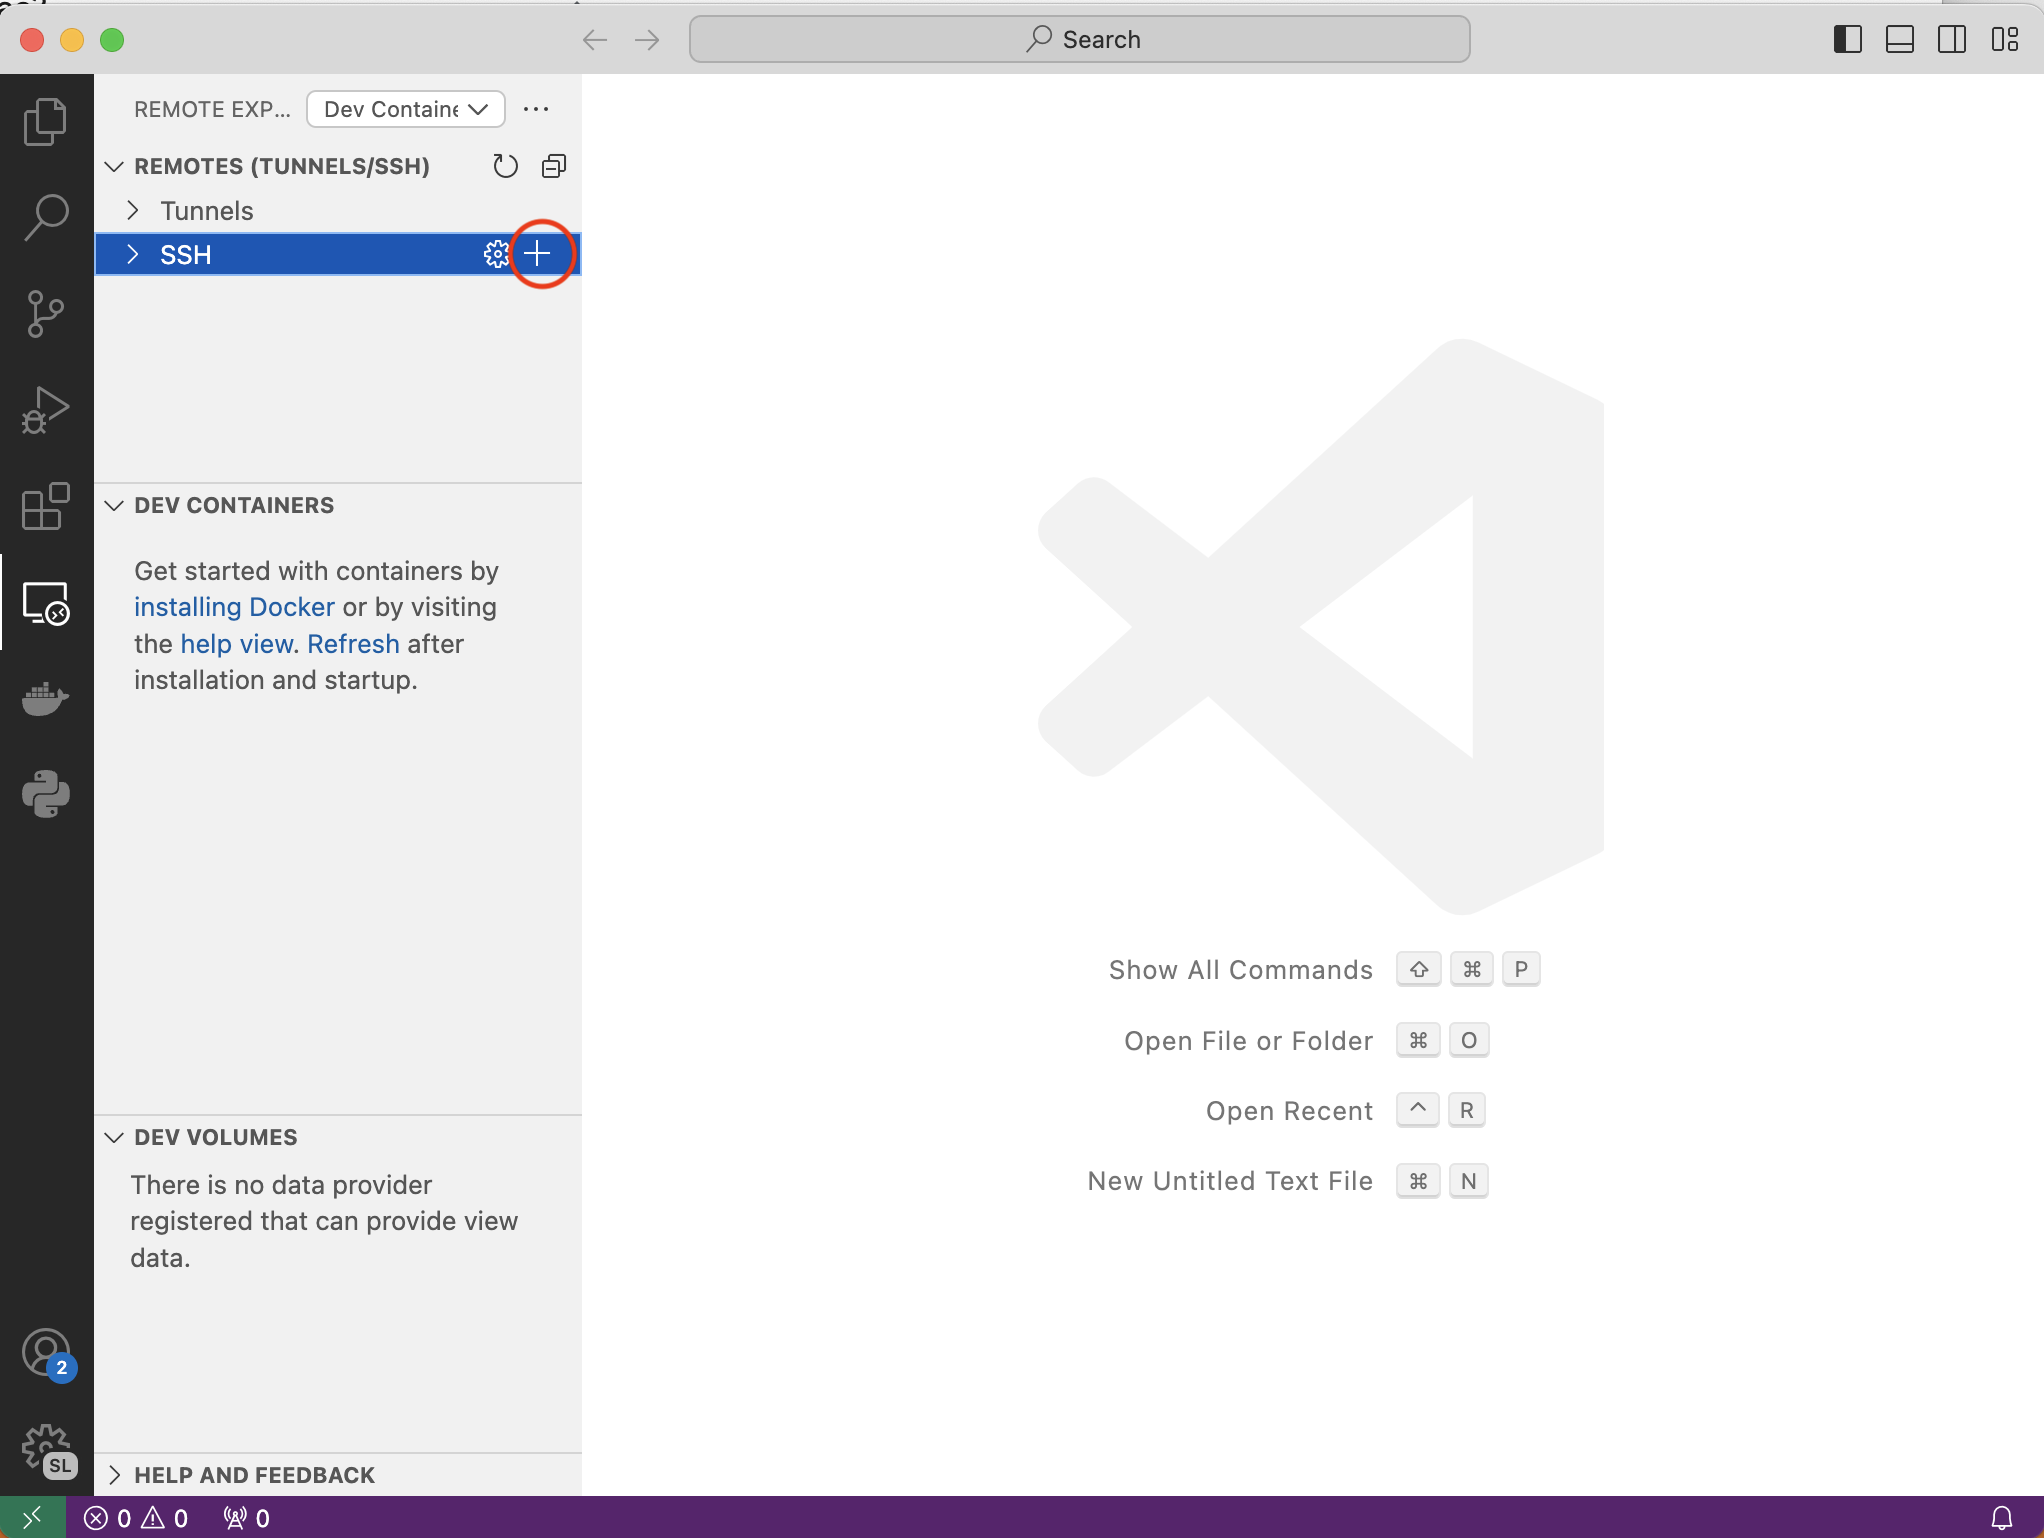
Now, you’ll need to add ada to the list of servers that you can connect to remotely. Start by clicking the plus next to “ssh”.
If you don’t have the remote explorer tab, go to extensions –> remote explorer –> install. If you don’t have the ssh option, go to extensions –> ssh –> install.
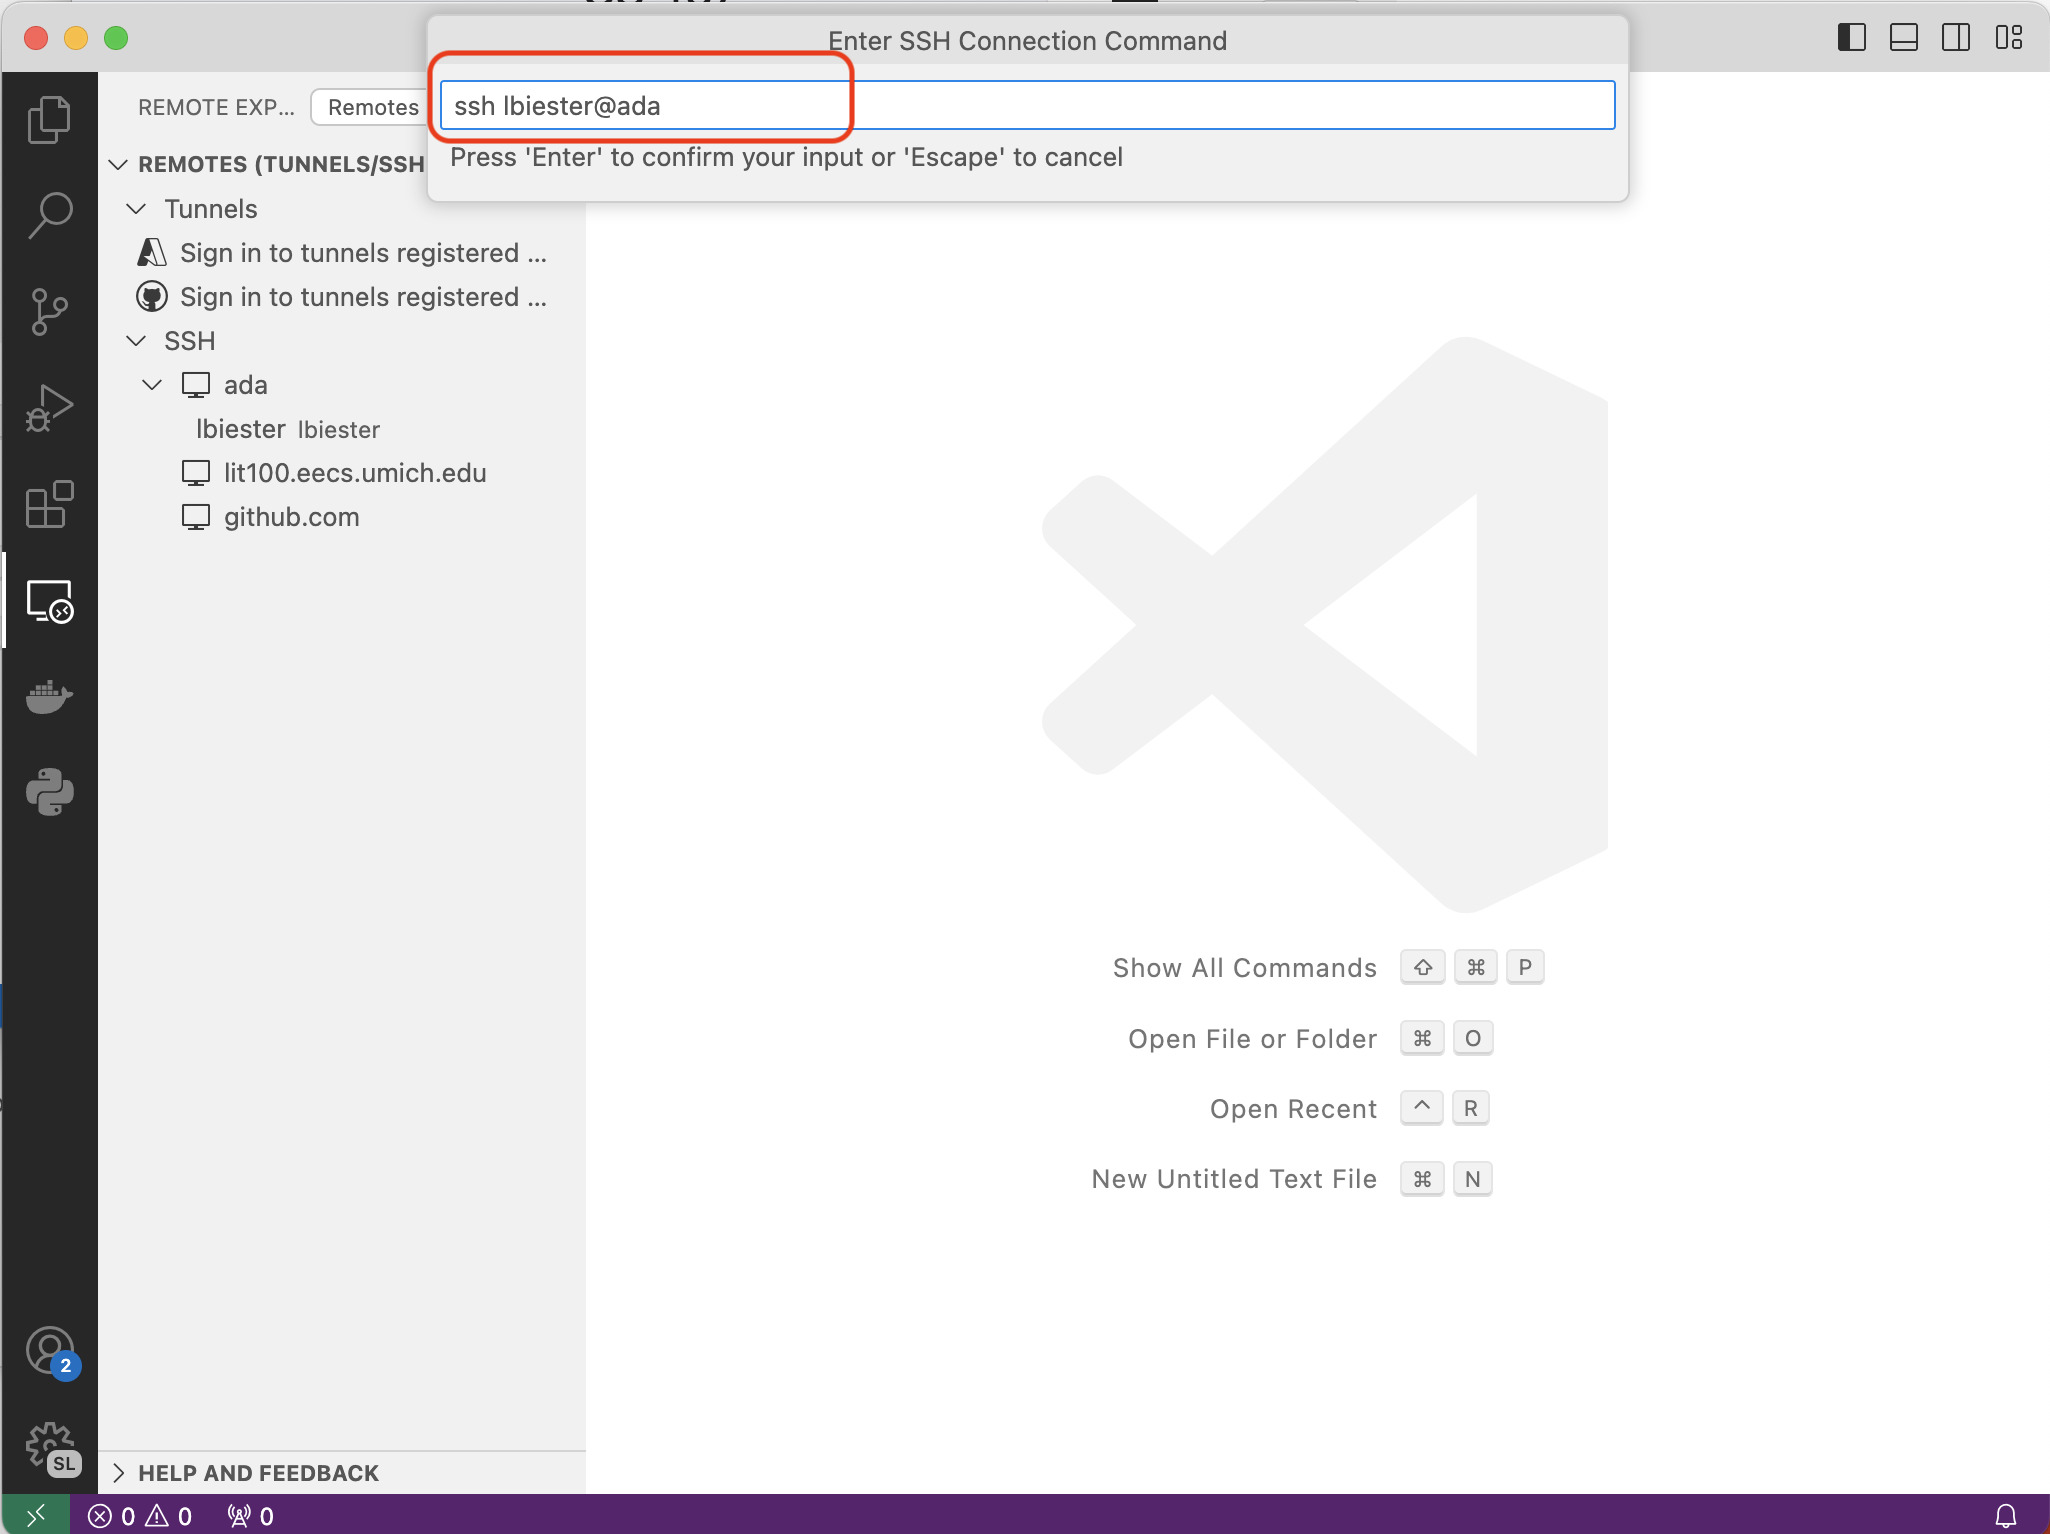
You’ll be prompted to type in a ssh command. Type ssh <you_middlebury_username>@ada in the prompt and hit enter.
You’ll be prompted to select a ssh config file to update - just hit enter.
After following these steps, you’ll see a pop-up that the host has been added! At this point, you can click “Connect” and continue to connecting to ada
Step 2.2: Connect to ada and open your folder
Once you’ve clicked the “Connect” button, you’ll be prompted to enter your Middlebury password. Do that, and hit enter.
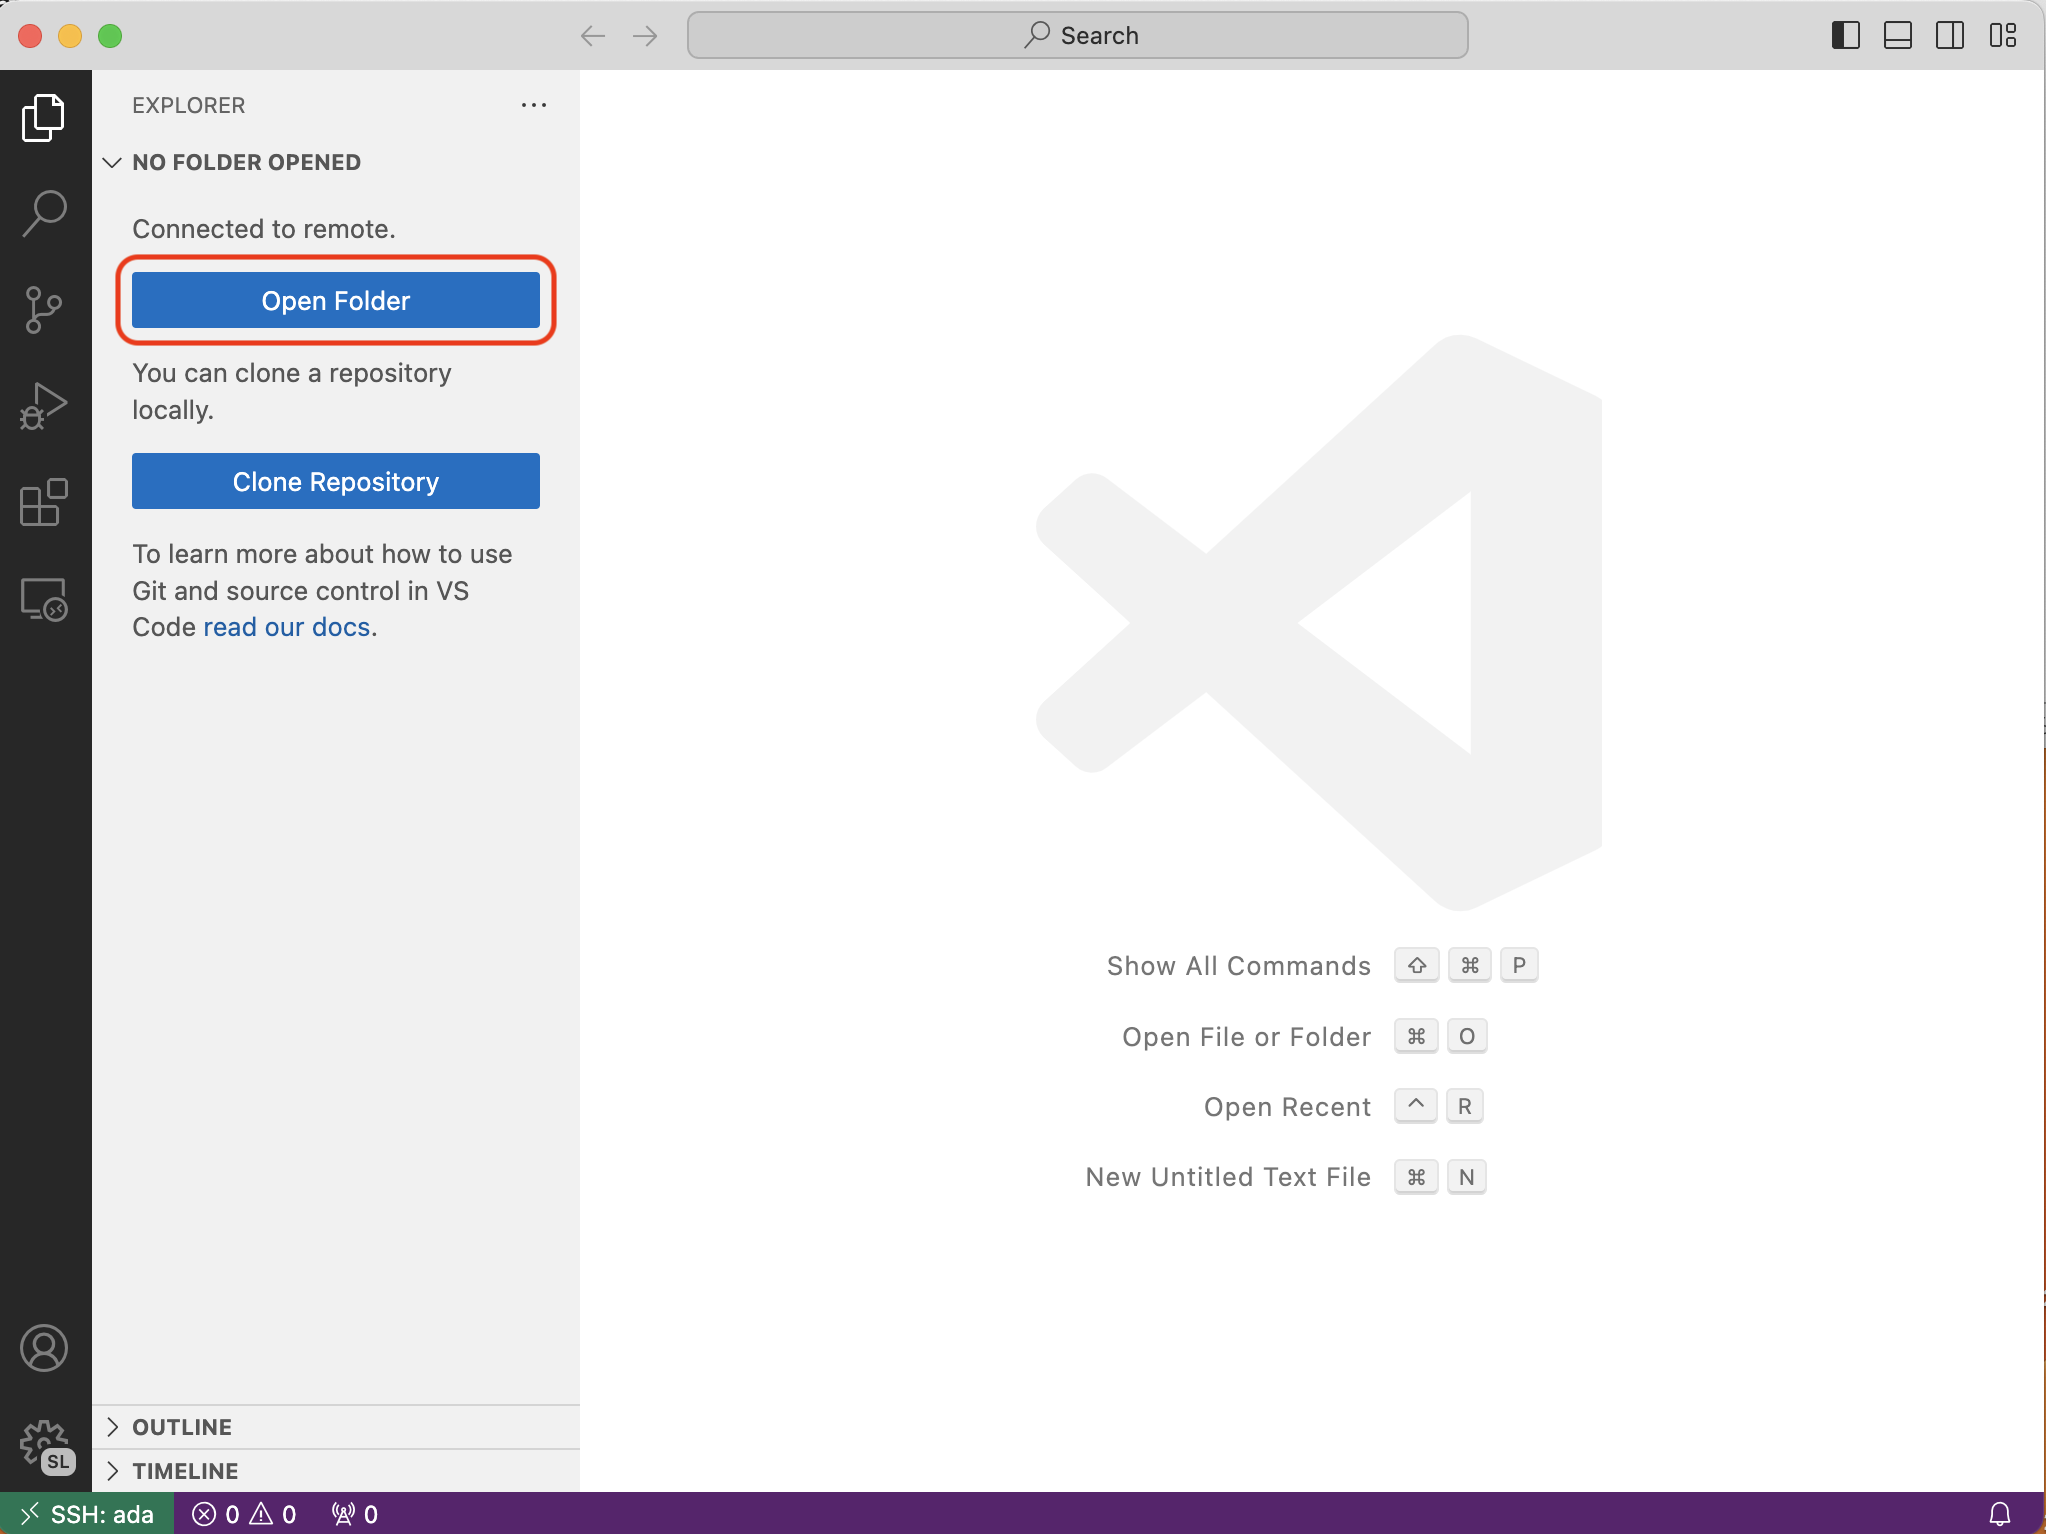
You’re connected! Now, you should open a folder. Click the button that’s circled in red below:
By default, you’ll see your home folder. That’s probably good for now, so just hit enter again.
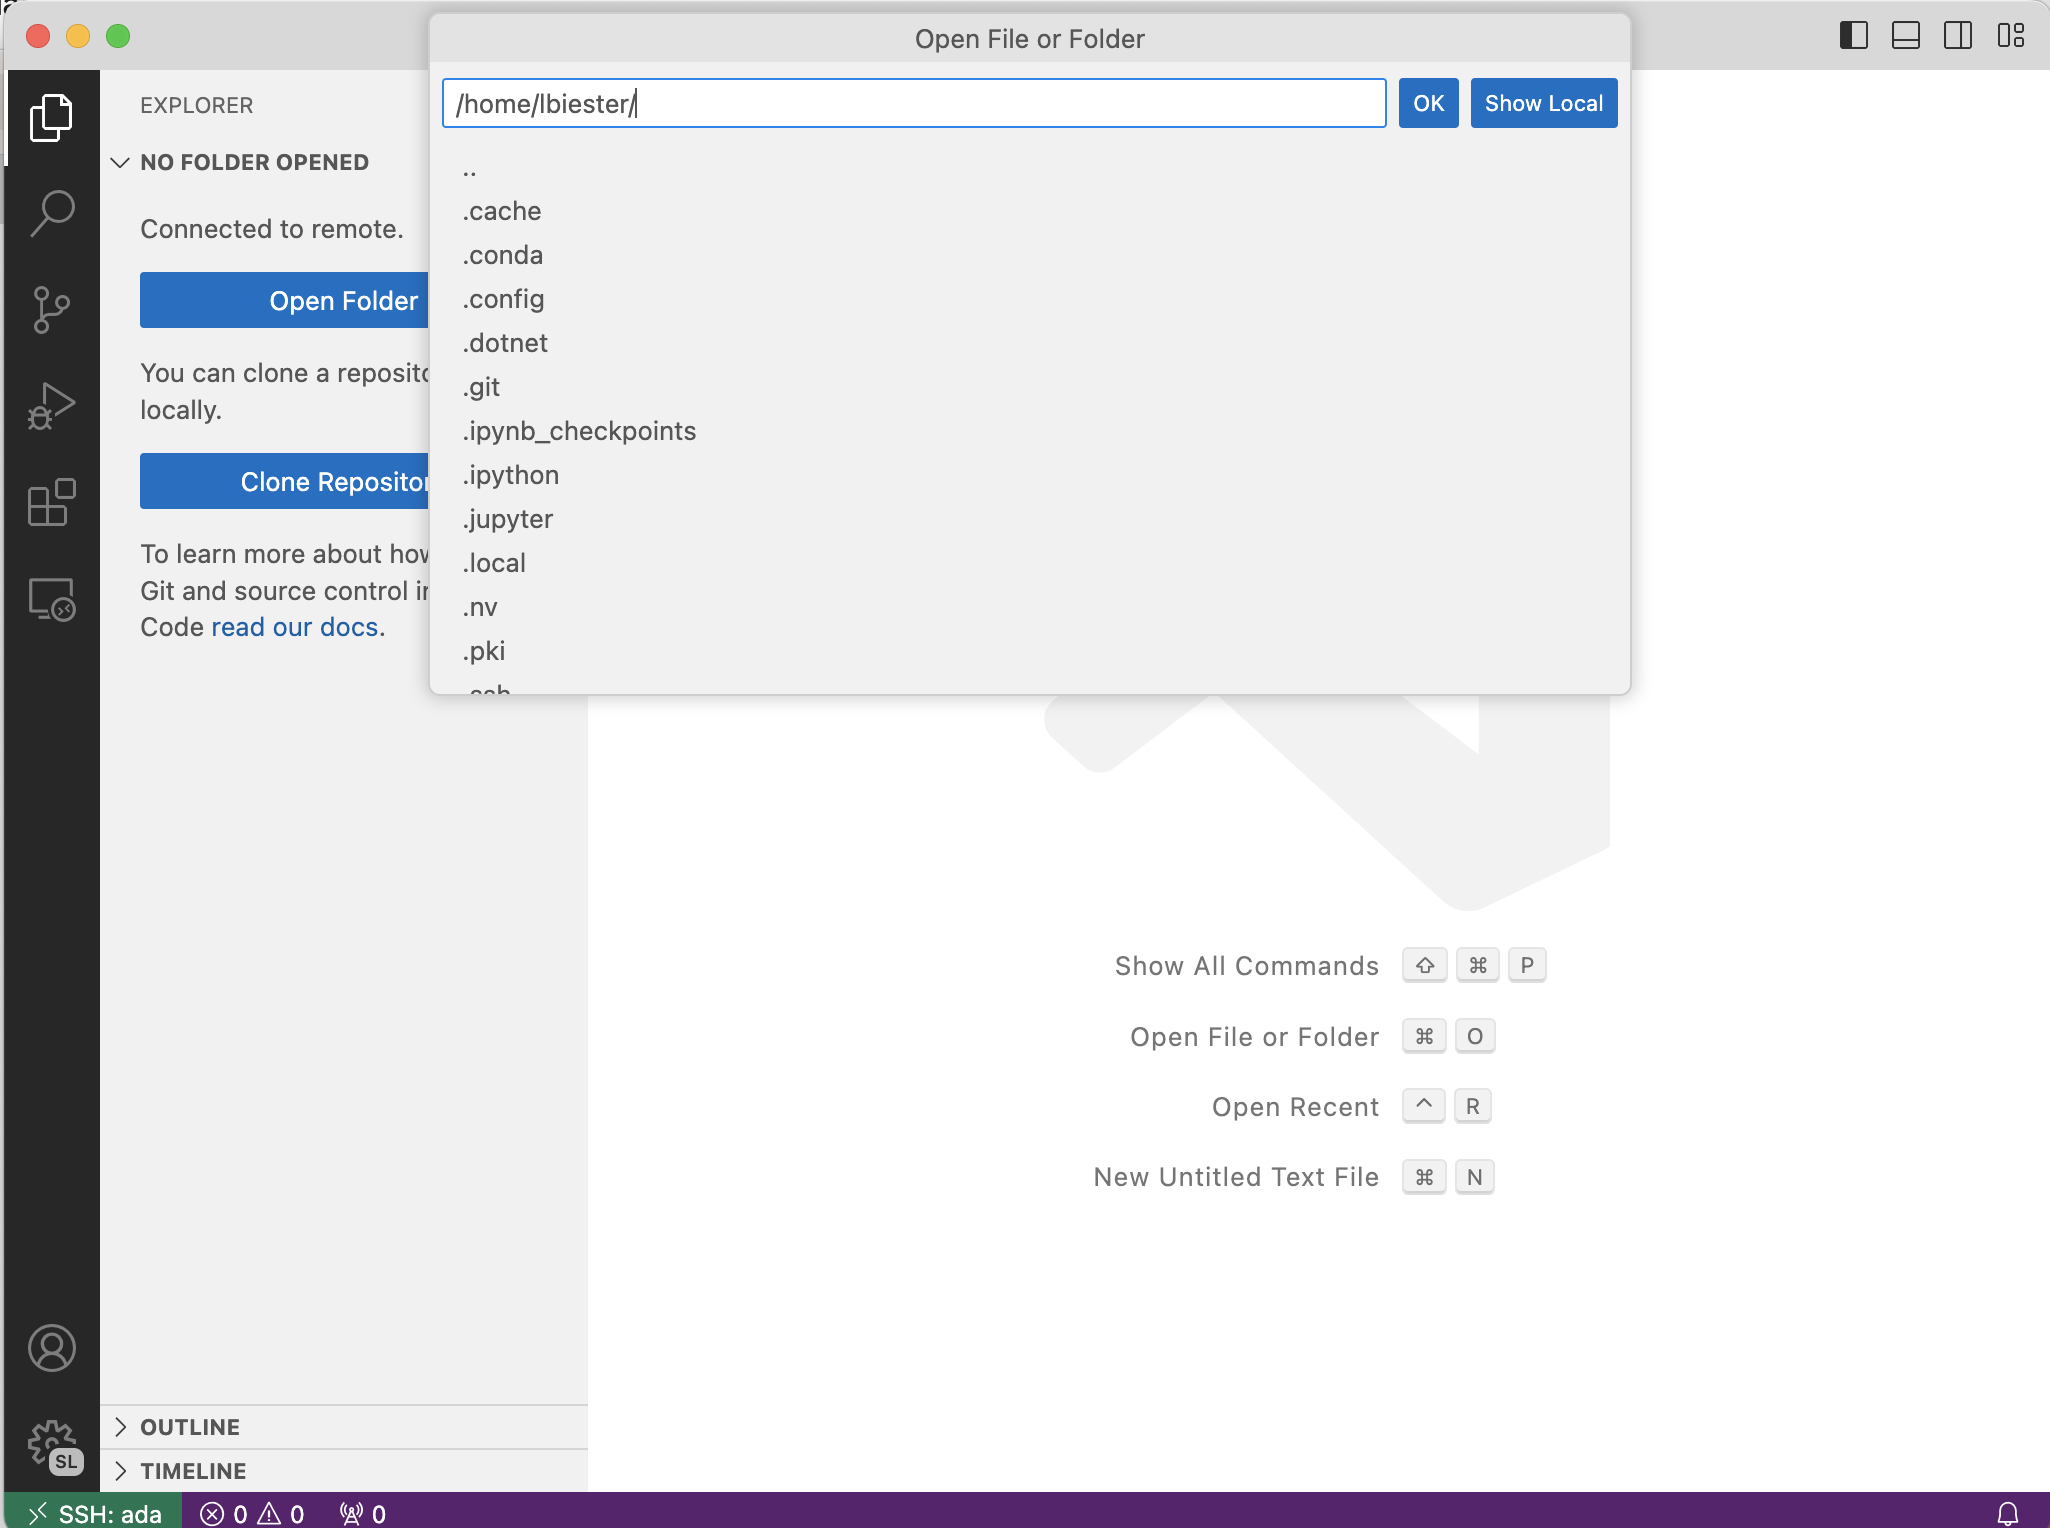
Once you create a folder for your homework, you may want to open that folder directly, rather than opening your entire home folder.
Step 3: Python setup
At this point, you should be able to edit files on ada like you would on your personal computer. Let’s go through the steps we need to install the python debugging extension and run a python file. Technically, you could just run everything from the command line and you could skip these steps, but I think that being able to run some scripts through vscode will be useful (although see the warning below).
On ada, you should generally not do significant work on the “head node”. Later on in this guide, I’ll show how you can submit batch jobs to be processed on other nodes from the cluster (including nodes with GPUs). Editing files should be OK, but heavy use of the vscode debugger with large data files loaded is not (especially if many students are doing it).
Step 3.1: Install the python extension
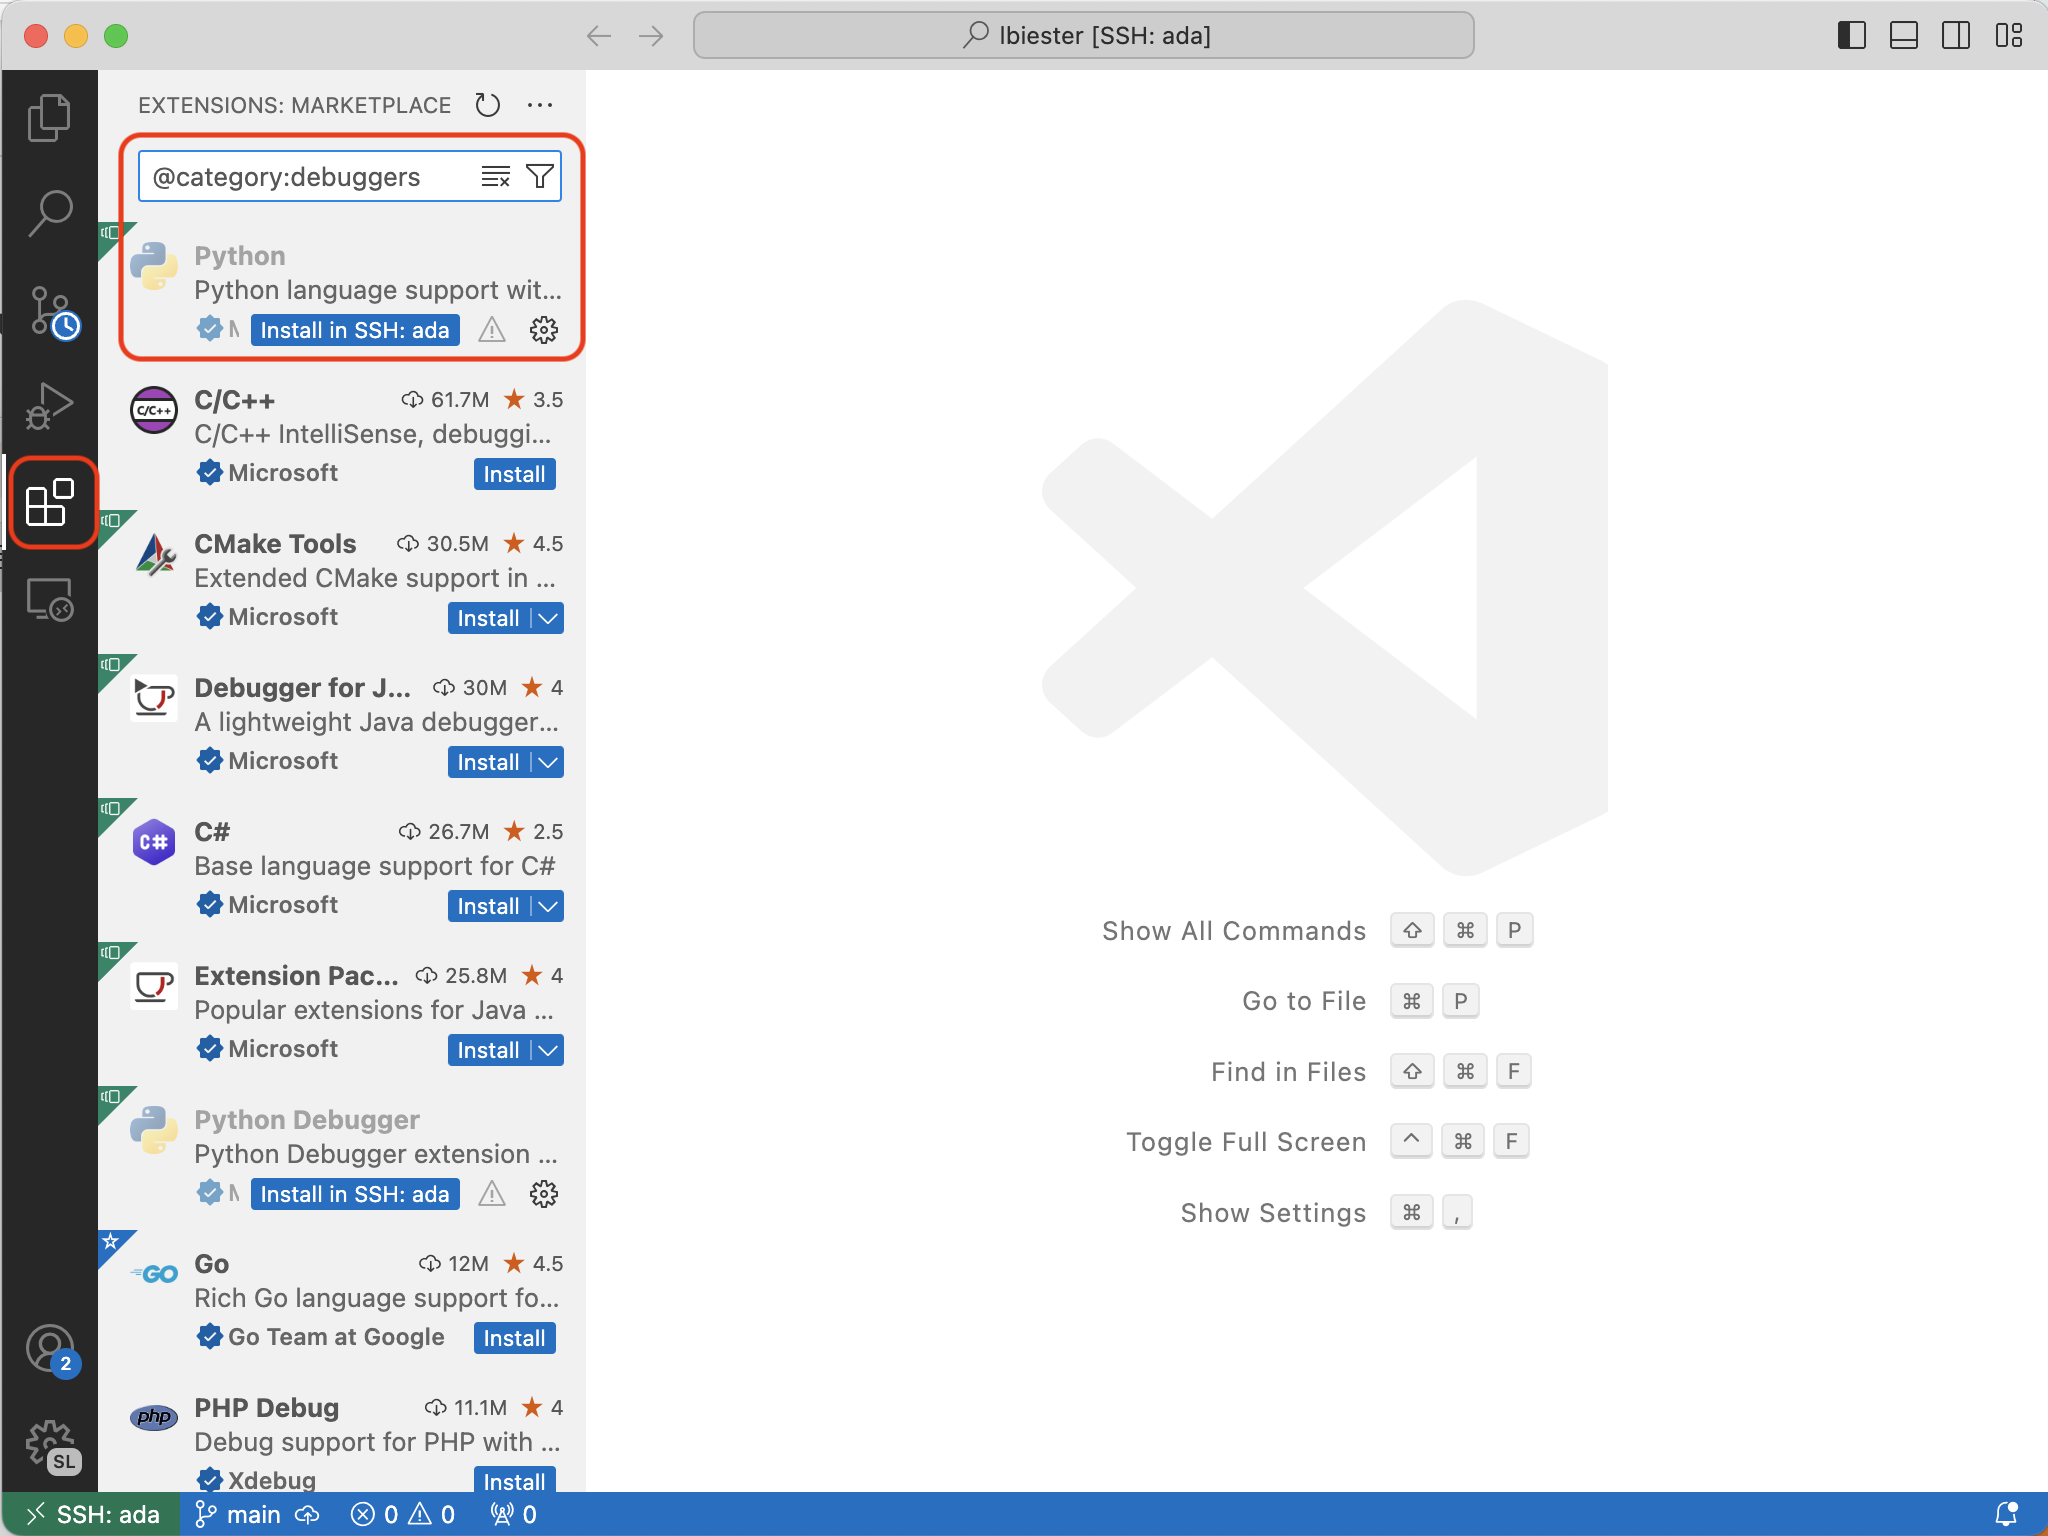
Start by installing the python extension. Look for the marketplace button in vscode and search for the python. You should see an option to “Install in ssh: ada”. You’ll need to do this even if you have the python extension set up on your personal computer.
Step 3.2: Choosing your python interpreter
Click the search bar at the top of vscode and type > in the menu that comes up. Then type Select Interpreter to pull up the menu option and hit enter. Select the option to “enter an interpreter path”. Finally, activate the CS457 python environment by typing /home/lbiester/.conda/envs/CS457/bin/python. This python environment has the libraries that you need for the homework assignments in this class.1
Step 3.3: Creating your launch file
Create a new file .vscode/launch.json with the following contents:
{
    "version": "0.2.0",
    "configurations": [
        {
            "name": "Python: Current File",
            "type": "python",
            "request": "launch",
            "program": "${file}",
            "console": "integratedTerminal",
            "justMyCode": false,
            "env": {"PYTHONPATH": "${workspaceFolder}"},
            "args": []
        },
        {
            "name": "Python: Hello",
            "type": "python",
            "request": "launch",
            "program": "hello.py",
            "console": "integratedTerminal",
            "justMyCode": false,
            "env": {"PYTHONPATH": "${workspaceFolder}"},
            "args": []
        },
    ]
}
This file defines two configurations, one that runs whatever file you currently have open and one that runs hello.py.
Step 3.4: Creating your python file
Now, create a hello.py file, just like you typically would in vscode. Print "Hello world!" in your script.
Step 3.5: Run it!
Now, go to the run and debug section of vscode and select Python: Hello from the dropdown. Click the green play button to run. A terminal window should pop up, and you should see Hello world!. Yay!
Step 4: Running batch scripts
When you want to train models on ada or run a script that will take a long time, you will use a slurm script. Running that script will create a job that is scheduled to run on one of the cluster’s nodes (another server). You will be provided with all necessary slurm scripts for homework assignments.
Step 4.1: Create a slurm script
Create a file called hello.sbatch with the following content:
#!/usr/bin/env bash
# slurm template for serial jobs
# Set SLURM options
#SBATCH --job-name=hello_world # Job name
#SBATCH --output=hello_world-%j.out
# Standard output and error log
#SBATCH --mail-user=<your_email>@middlebury.edu
# Where to send mail
#SBATCH --mail-type=ALL
# Mail events (NONE, BEGIN, END, FAIL, ALL)
#SBATCH --mem=100mb
# Job memory request
#SBATCH --partition=standard
# Partition (queue)
#SBATCH --time=00:01:00
# Time limit hrs:min:sec

# print SLURM envirionment variables
echo "Job ID: ${SLURM_JOB_ID}"
echo "Node: ${SLURMD_NODENAME}" echo "Starting: "`date +"%D %T"`
# Running your code here
python hello.py
# End of job info
echo "Ending: "`date +"%D %T"`
Update <your_email>@middlebury.edu to your email address to get emails about your job status!
If you want to learn more about what the slurm script arguments are, here are some details:
job_name: this is the name that is used in the job scheduleroutput: this controls where the standard output of your job goes (stuff that you print, error messages, etc.)mail-user: this controls who is emailed with the status of your jobmail-type: which emails slurm should sendmem: the RAM required for your jobpartition: the type of node to run your job on, common options arestandard(CPU only) andgpu-standard(GPU)time: the amount of time that your job will need to run - I usually overestimate by a little bit, as your job will be killed if it exceeds the time limitRemember that for homework, you shouldn’t edit these scripts or set any values yourself.
Step 4.2: Opening your terminal
Go to the terminal window menu (at the top of vscode) and click “New Terminal” to open the terminal window, if it’s not already open.
Step 4.3: Load the CS457 module
Load the CS457 homework module to use the correct python interpreter for the class
module use /home/lbiester/modules
module load cs457/s24-hw
This module also allows you to use a shared copy of models so that you do not all have to individually download large models from huggingface.
Step 4.3: Submit your job
Submit your job with the command sbatch hello.sbatch. You should see a message that tells you the ID for your job:
Submitted batch job 3101
If you want to check the status of a submitted job, you can use the command scontrol show job <job_id>. To see a list of your running jobs, you can use the command squeue -u <you_middlebury_username>.
Step 4.4: Checking your job’s output
Your job’s output will be stored in hello_world-<job_id>.out. This is controlled by the --output argument in your sbatch script. Open that script when your job is done running to confirm that the output looks something like this:
Job ID: 3101
Node: node021 echo Starting: 03/20/24 14:18:13
Hello world!
Ending: 03/20/24 14:18:13
Step 4.5: Checking imports
Now, add the following line to the top of your script and submit using sbatch hello.sbatch one more time.
import torch
If your job runs without failure and you see “Hello World” in the output file, you are in good shape - you are using the intended python environment, which has torch installed.
Once you start working on your final project, you should install your own libaries if you need anything beyond what we have in the CS457 environment, or contact me if you just need one library added. ↩